HELP
Help & Contact
1. Create a floor plan
On Home, choose From a Photo, From a PDF, or Rectangular Room by Size. Without a plan, just enter the room's width and length in mm.
2. Set the scale
- For a photo taken at an angle, match the markers to the plan's four corners to straighten it
- Tap both ends of something whose length you know (such as a wall) and enter the real length in mm. Pick two points far apart (points too close together can't be used)
- You can trace the walls to draw the room, or simply place furniture on top of the plan
3. Place furniture
From Furniture in the tool bar, pick a typical piece or enter your own sizes. Drag to move; pieces snap to walls and furniture edges (you can turn this off in Settings). Nudge the selected piece 1 cm with the arrow buttons, or 1 mm with a long press. Rotate by 90° with the button or freely with the handle.
4. Clearances and walkways
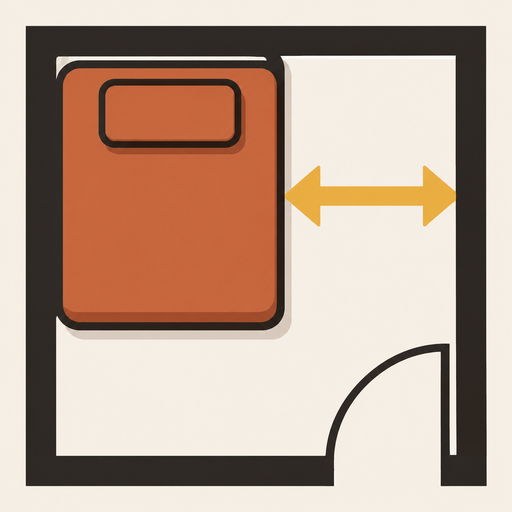
Clearances to nearby walls and furniture appear around the selected piece. Overlaps and anything outside the room are red; narrow walkways (under 60 cm by default) are yellow. Furniture inside a door swing turns red. Tap two points to measure a length.
5. Compare layouts
Use [+] in the layout switcher at the top to make another arrangement for the same plan, and Compare to view two side by side.
6. Export and print
From Share, choose an image, a PDF to scale (A4 or A3), or Print.
FAQ
Are the typical furniture sizes from a store?
No. They are typical sizes chosen for this app. Change them to the sizes of your own furniture or what you plan to buy.
Keeping plans the same on iPhone and iPad
Sign in to iCloud with the same Apple Account and your plans, furniture and layouts stay the same. The Android app doesn't sync across devices; export and import a plan file (.okidokoro).
Contact
ryo.tsuzukihashi@tsuzukit.com (Japanese or English)
 おきどころ